Manage Floating IPs via the Dashboard
Assign Floating IP address
Log into the NeSI FlexiHPC Dashboard
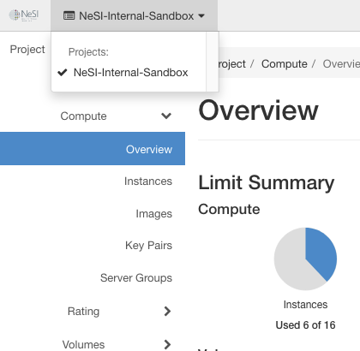
Select the project you would like to deploy the new instance too (Use the project selector on the top left-hand side):
Open the Project tab, open the Network tab and select Floating IPs
Click Allocate IP to Project
Within the Allocate Floating IP dialog you have the following options
Pool- The pool that the floating ip should be allocated from. There is only external currently so is set as the default.
Description- A friendly description for what this IP is used for
DNS Domain- Optional. The DNS domain where a record will be created for this floating IP (e.g.,
example.com). Contact NeSI support for available domains. Leave blank if DNS resolution is not needed. DNS Name- Optional. The hostname within the DNS domain (e.g.,
myserverwould createmyserver.example.com). Leave blank if DNS resolution is not needed.
Note
The default settings are fine should you not wish to configure anything further.
Click Allocate IP

Under Actions click Associate
Within the Managing Floating IP Associations dialog you want to ensure the IP Address is the one you wish to assign, and under the Ports to be assocaited select the compute instance you wish to assign the IP too.
Click Associate
Un-assign Floating IP address
Log into the NeSI FlexiHPC Dashboard
Select the project you would like to deploy the new instance too (Use the project selector on the top left-hand side):
Open the Project tab, open the Network tab and select Floating IPs
Under Actions click Disassociate
Within the Confrim Disassociate dialog confirm the IP you are disassociating
Click Disassociate