Network Ports
Create a Network port
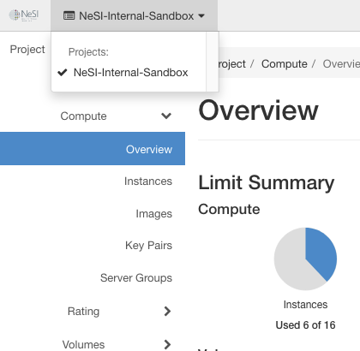
Log into the NeSI FlexiHPC Dashboard
Select the project you would like to deploy the new instance too (Use the project selector on the top left-hand side):
Open the Project tab, open the Network tab, select the Networks category and then select the network you want to assign the network port to.
Click on the Ports tab
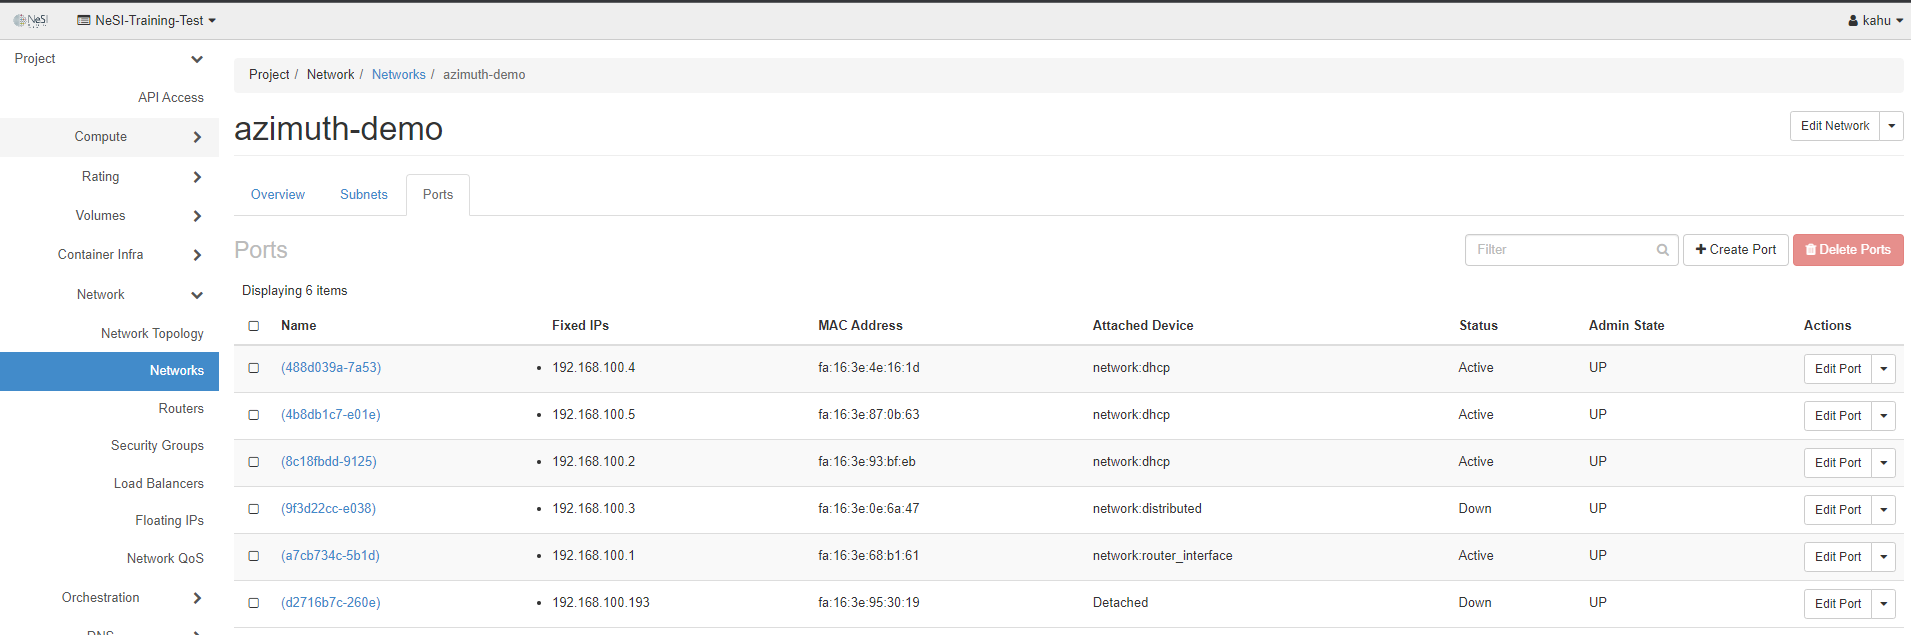
Then click Create Port
Within the Create Port dialog fill in the options
Name- A friendly name for your network port
Device ID- The ID of the instance you want to attach this too, this can be done later should you not know the ID of the instance.
Device Owner- The owner of the device, this can be added later if you don't know the device owner.
Specify IP address or subnet-
You have 3 options to chose from
Unspecified- This option will assign a DHCP IP to the network port
Subnet- This option will allow you to pick the subnet within the network to attach the port too and assign a DHCP IP to it.
Fixed IP Address- This option will allow you to specify the IP address that will be assigned to the network port
Depending on the option chosen above there will be additional settings to chose below
Unspecified-
Mac Address- The MAC address of the NIC you want to assign, you can leave this blank should you not know the MAC address and it will be assigned later
Subnet-
Subnet- This is a required field, pick the subnet that you wish the network port to be associated with
Mac Address- The MAC address of the NIC you want to assign, you can leave this blank should you not know the MAC address and it will be assigned later
Fixed IP Address-
Fixed IP Address- This is a required field, specify the network port IP that you want to use
Mac Address- The MAC address of the NIC you want to assign, you can leave this blank should you not know the MAC address and it will be assigned later
After the above we have the last 2 options within the Create Port dialog
Port Security- This is checked by default, it enables anti-spoofing rules for the network port
VNIC Type- This is the type of Virtual Network Interface Card that is bound to the port. The default of Normal should be enough for most cases.
There is also the option to assign security groups to this network port as well. The user guide Manage Security Groups will provide more information about them.
We then click on Create

This will then create the network port so that we can assign it to a instance later on

Note
If you provided a Device ID during the creation of the network port then it will be assigned to the instance you provided
Assigning a network port to an instance
Log into the NeSI FlexiHPC Dashboard
Select the project you would like to deploy the new instance too (Use the project selector on the top left-hand side):
Open the Project tab, open the Compute tab and select Instances
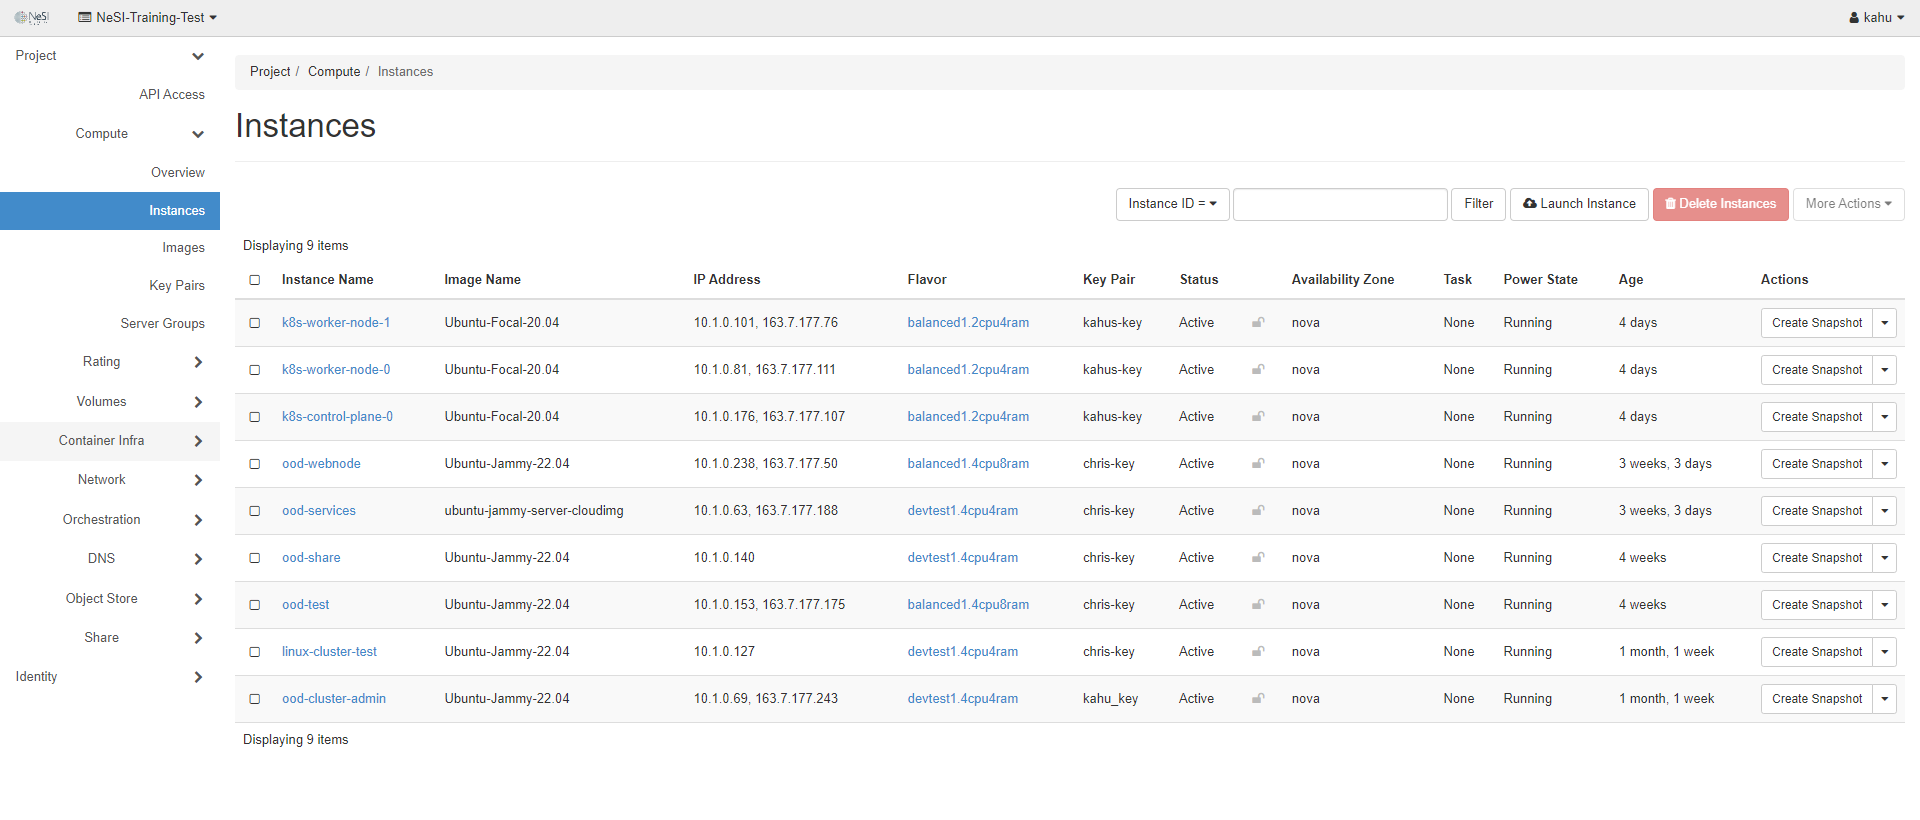
Under the Actions dropdown select Attach Interface

Within the Attach Interface dialog we have a few options to attach the network port. We can create a new one here or attach a previously created one.
The first option is to create a new one from within the dialog, so we pick the option by Network (and IP Address) within The way to specify an Interface
Network- This is a required field, pick the network you wish for this port to be assigned too
IP Address- Leaving this blank will assign an IP address from the DHCP, you can also specify the IP Address you wish for this network port to use
The second option is to assign a previously created network port, so we pick the option by Port within The way to specify an Interface
Port- This is a required field, pick the previously created network port from the options provided.
Click Attach Interface
The instance should now have the new network port attached

Detach a network port from an instance
Log into the NeSI FlexiHPC Dashboard
Select the project you would like to deploy the new instance too (Use the project selector on the top left-hand side):
Open the Project tab, open the Compute tab and select Instances
Under the Actions dropdown select Detach Interface
Within the Detach Interface dialog select the IP address for the Network port you wish to detach
Click Detach Interface

Delete a network port
Log into the NeSI FlexiHPC Dashboard
Select the project you would like to deploy the new instance too (Use the project selector on the top left-hand side):
Open the Project tab, open the Network tab, select the Networks category and then select the network you want to assign the network port to.
Click on the Ports tab

Select the port you wish to delete with the check box and the Delete Port option so become solid.
Within the Delete Port dialog ensure you are deleting the correct one
Click Delete Ports