Security Groups
The Default secuirty group
Log into the NeSI FlexiHPC Dashboard
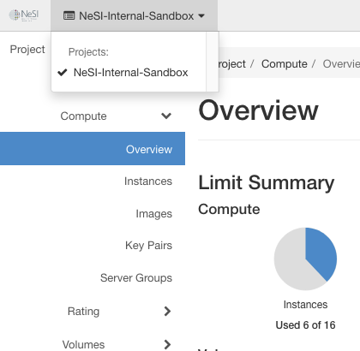
Select the project you would like to deploy the new instance too (Use the project selector on the top left-hand side):
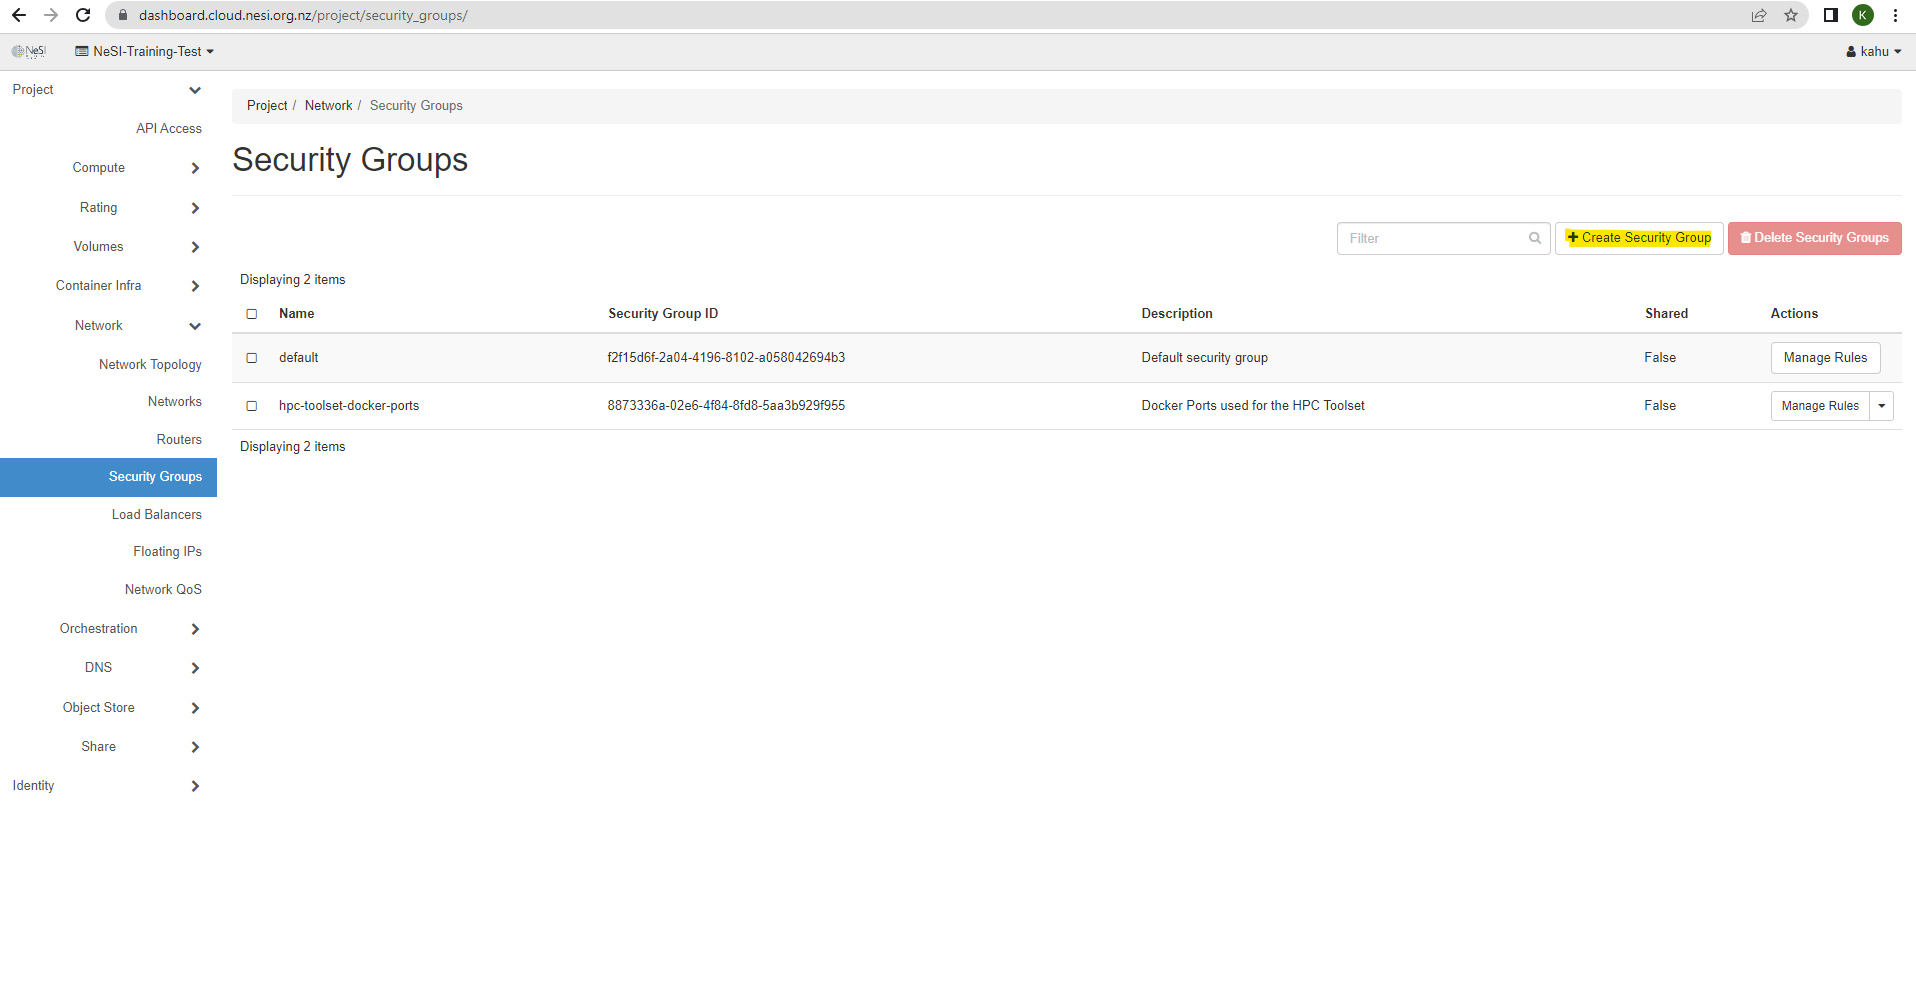
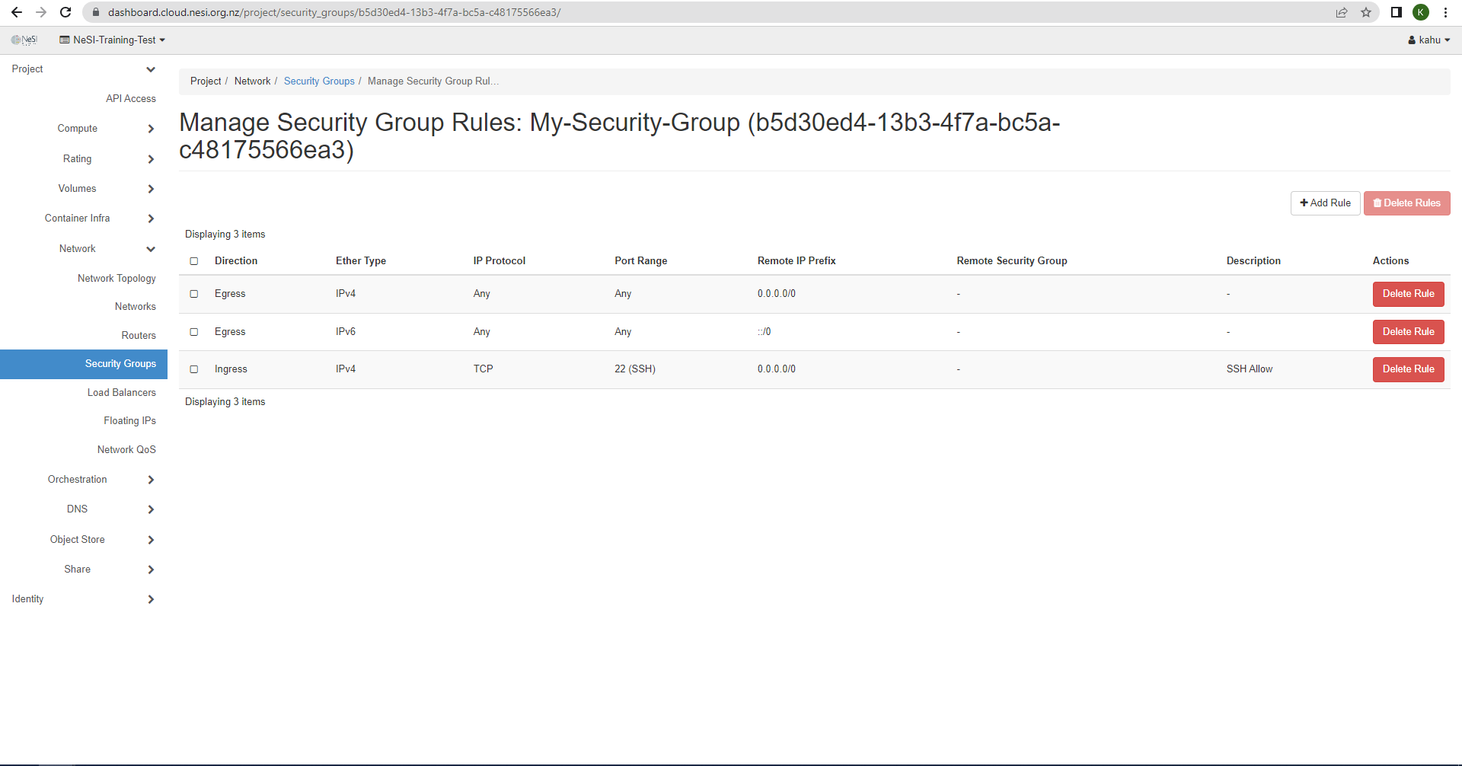
Open the Project tab, open the Network tab and select the Security Groups category
Note
We recommend that no new rules are added to the deafult security group to keep things clean and tidy. We also recommend that no rules be removed from this group.
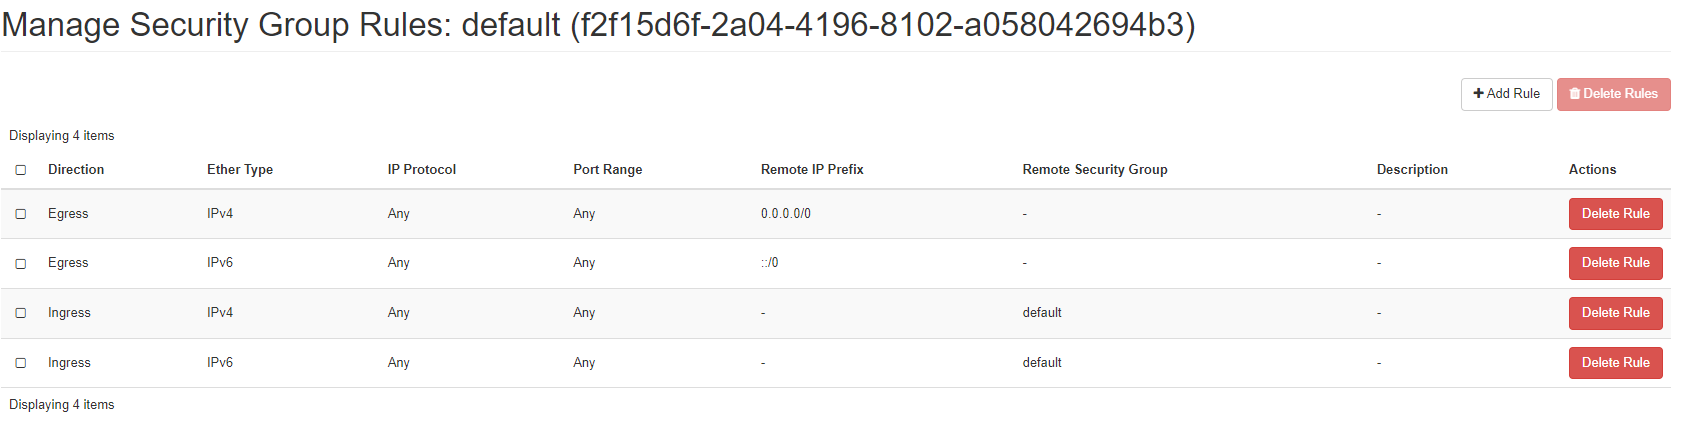
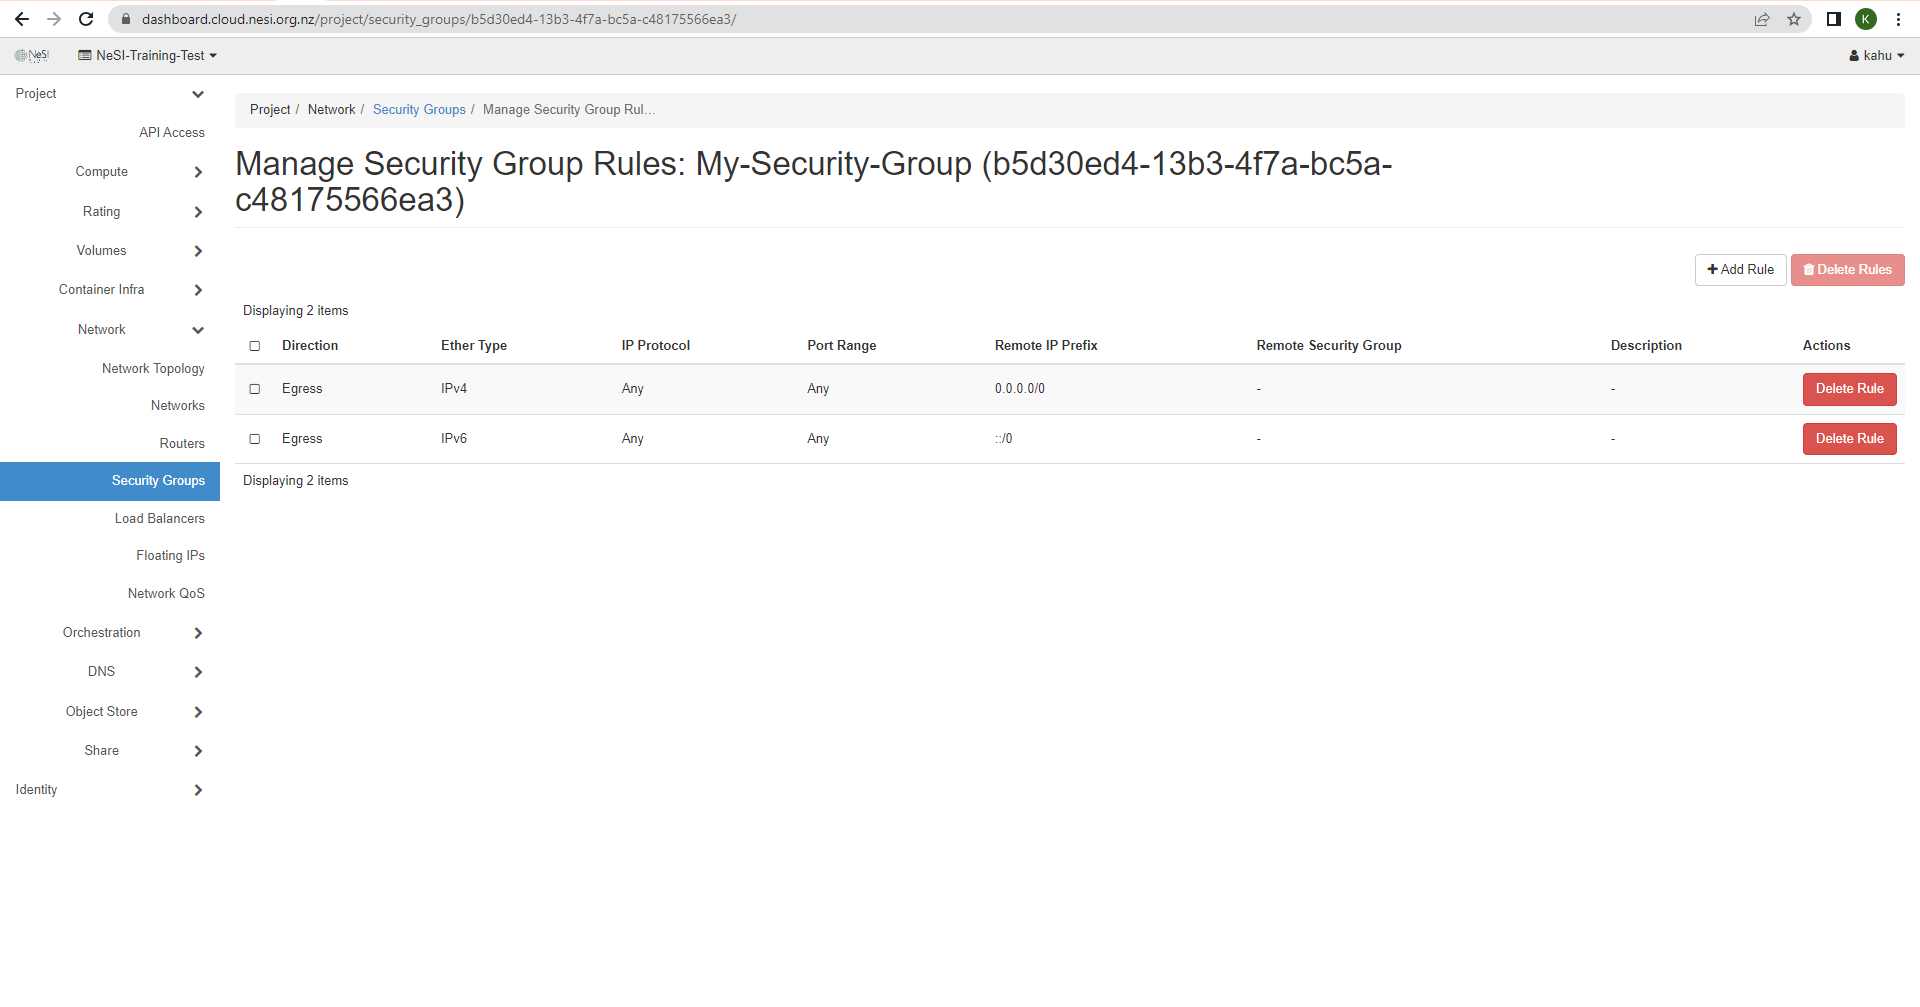
There are 2 Egress and 2 Ingress rules, each one is associated with either IPv4 or IPv6.
The 2 Egress rules allow the resources within the FlexiHPC project to communicate with the outside world.
The 2 Ingress rules allow any other resource within the FlexiHPC project that has this security group associated to it is allowed to communicate with each other.
Creating a new Security Group
First start by clicking on Create Security Group
Within the Create Security Group dialog you have the following options.
Name- A friendly name for your network, this field is requried.
Description- A friendly description to identify what this is used for
Once those have been filled out hit the Create Security Group button and that will take you to the newly created security group
Updating a Security Groups Rules
We have a few ways of adding new rules to the security groups, either with predefined rules or customs rules.
Using Predefined Rules
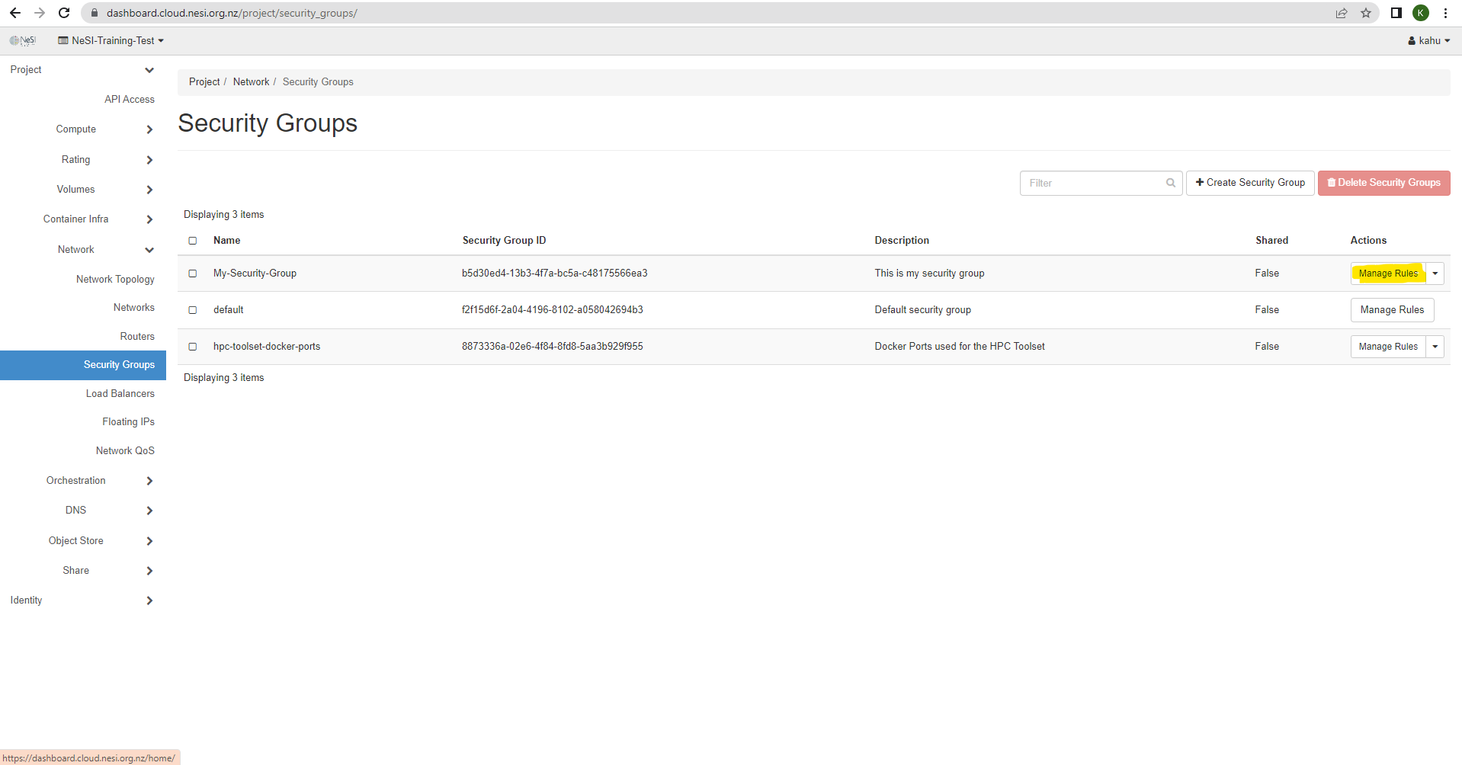
Find the security group that you would like to update the rules for and click Manage Rules under the Action column
Once in the security group we want to click on Add Rule on the top right

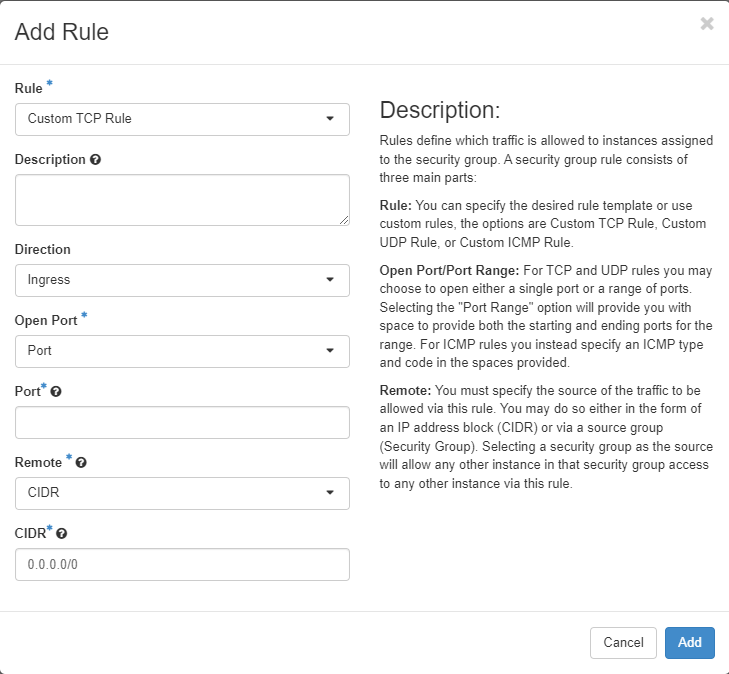
We are presented with the following dialog that allows us to add new rules based on the direction(Ingress/Egress) that we want to apply the rule. Think of these as Firewall Rules
There are all ready a few predefined rules that are ready to use if you so chose
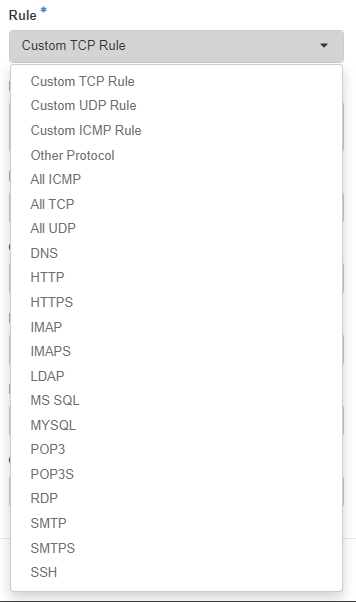
For this example we will create an SSH rule
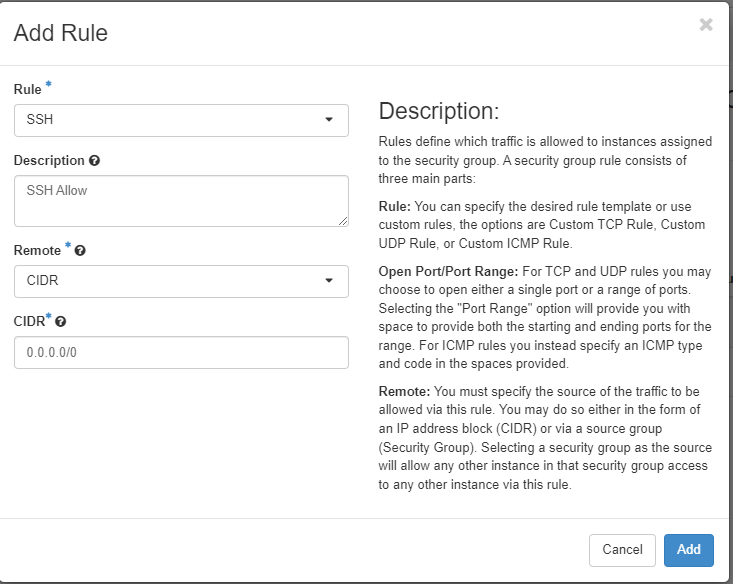
We have specified the SSH Rule, given it a description so it explains what it is for other users, we have chosen CIDR as the remote and left the CIDR as Allow All.
Info
If we changed that CIDR to 192.168.0.0/16 then only machines that reside within that IP Range will be able to pass through this Rule.
For the above example we want to be able to SSH to a Compute Service within the FlexiHPC space however the IP that we would be connecting from would be our Public IP, therefore using the above CIDR would actually block our attempts to SSH to the compute service that has this rule applied.
If you wish to restrict the Rule to only your Public IP then google whats my ip and use the IP that is provided prefixed with /32
Clicking Add will update the Security group with the newly created rule
Using Custom Rules
Find the security group that you would like to update the rules for and click Manage Rules under the Action column
Once in the security group we want to click on Add Rule on the top right
We are presented with the following dialog that allows us to add new rules based on the direction(Ingress/Egress) that we want to apply the rule. Think of these as Firewall Rules
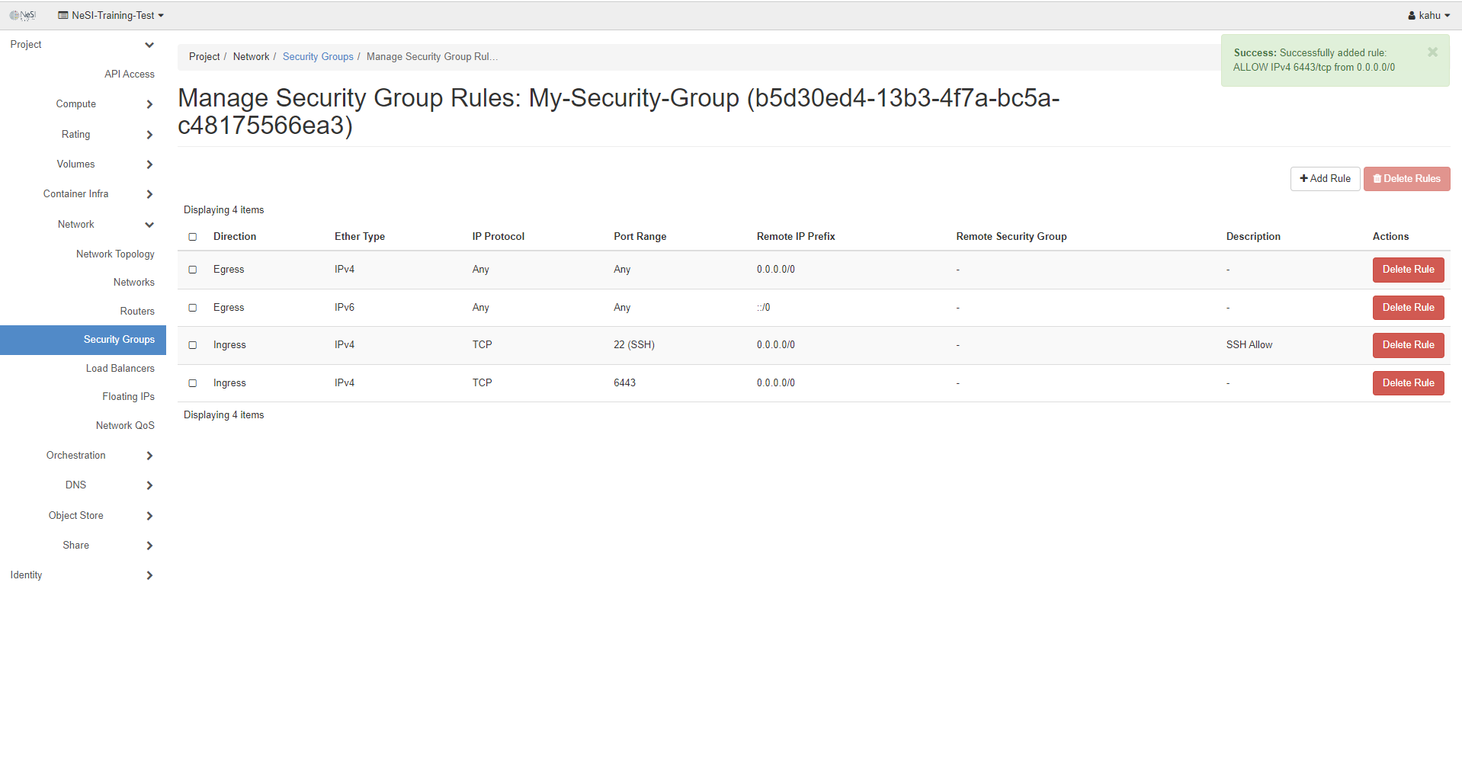
For this Example rule we will allow port 6443.
So the things we need to ensure are Rule has been set to Custom TCP Rule, The Direction is Ingress as we are allowing the port into the FlexiHPC space and the Port we would like to allow, in this case 6443.
We will also leave Remote as CIDR and the CIDR as allow all, as denoted by 0.0.0.0/0
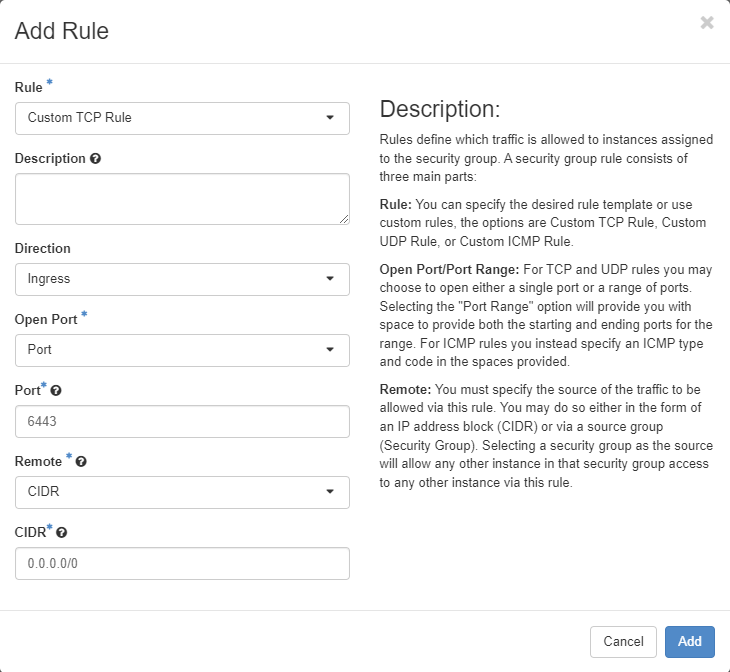
We click Add and our rule is now added to the security group