Create and manage keypairs via the dashboard
Create a Keypair
Log into the FlexiHPC Dashboard
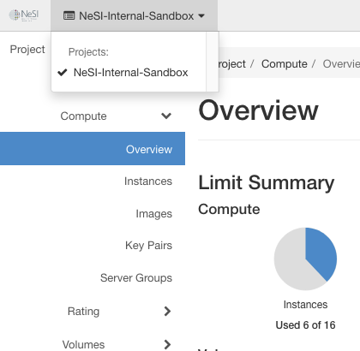
Select the project you would like to deploy the new instance too (Use the project selector on the top left-hand side):
Open the Project tab, open the Compute tab and select the Key Pairs category
Click Create Key Pair.

In the Create Key Pair dialog box, enter a name for your key pair, and select a Key Type
Key Type-
Select one of the following options
-
SSH Key- This will be the common picked
Key Typeas we will use this to SSH to most compute instances.
-
X509 Certificate- This will be used to generate an Certificate based key.
-

Once all fields are supplied click Create Key Pair
The private key will be downloaded automatically

To change its permissions so that only you can read and write to the file, run the following command:
Note
If you are using the Dashboard from a Windows computer, use PuTTYgen to load the *.pem file and convert and save it as *.ppk. For more information see the WinSCP web page for PuTTYgen.
To make the key pair known to SSH, run the ssh-add command.
Import a Key Pair
Log into the FlexiHPC Dashboard
Select the project you would like to deploy the new instance too (Use the project selector on the top left-hand side):
Open the Project tab, open the Compute tab and select the Key Pairs category
Click Import Key Pair.
In the Import Key Pair dialog box, enter the name of your key pair, copy the public key into the Public Key box, and then click Import Key Pair.
The Compute database registers the public key of the key pair.
The Dashboard lists the key pair on the Key Pairs tab.