Upload Image
Log into the NeSI FlexiHPC Dashboard
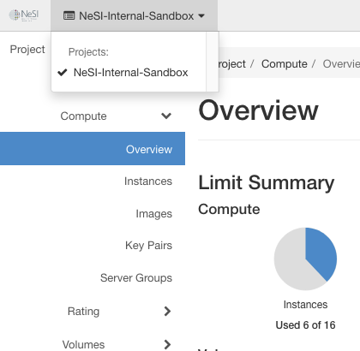
Select the project you would like to deploy the new instance too (Use the project selector on the top left-hand side):
Open the Project tab, open the Compute tab and select Images
Click Create Image
Within the Create Image dialog box there are the following values:
Image Details
Image Name- A friendly name for your image
Image Description- A description for your image
Image Source
File- The location on your machine where the image is located
Format-
- ISO - Optical Disk Image
- PLOOP - Virtuozzo/Parallels Loopback Disk
- QCOW2 - QEMU Emulator
- RAW
- VDI - Virtual Disk Image
- VHD - Virtual Hard Disk
- VMDK - Virtual Machine Disk
- AKI - Amazon Kernel Image
- AMI - Amazon Machine Image
- ARI - Amazon Ramdisk Image
Generally the image you downloaded will have its Format in the name/file extension, An example would be kinetic-server-cloudimg-amd64.vmdk which has the vmdk extension. If it doesn't specify the format in the name assume qcow2
Note
When it comes to the different image formats we generally follow the very basic guideline for them.
Images in the QCOW2 format are for running a single compute instance.
Images in the RAW format are for running multiple compute instances.
If you wish to convert to another format please read Converting Images between formats
Image Requirements
The following settings can remain blank as they are not needed to upload an image to the FlexiHPC platform.
Image Sharing
Visibility- We have the options of Private,Shared or Community. If you don't want anyone else outside your project to use/see the new image then select private, however if you want this to be shared with other projects we would select either Shared or Community
Protected- This setting allows the image to be protected from deletion.
Once we have filled out the required fields we can click Create Image, the FlexiHPC platform will then process and save the image to the underlying CEPHS file system.