Managing Images
Log into the NeSI FlexiHPC Dashboard
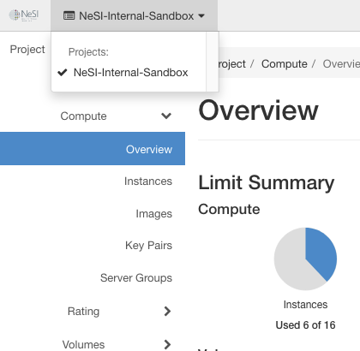
Select the project you would like to deploy the new instance too (Use the project selector on the top left-hand side):
Open the Project tab, open the Compute tab and select Images
You should see a list of all images available for your project. You can use the filter to see images that are public,private,shared or community
Images that are public are uploaded and configured by the FlexiHPC team.
Images that are specific to your project are either private or shared
Updating an Image
Note
If you need to modify the image details or metadata, the general practice is to create a new image with the desired changes rather than directly editing the existing one. After creating the new image, you can delete the old image if it's no longer needed.
Find the image you would like to update and then click the down arrow at the end of the image row and select Edit Image
Within the Edit Image dialog you are able to change the following items
Image Details
Image Name-
Note
When changing this property be very careful as some ones code or CLI based deployment could be targeting this property. We normally say use Image ID’s when using any CLI or code based deployments to avoid this issue as Image ID’s are GUID’s
Image Description
Image Requirements
Nothing in here should be changed or updated.
Image Sharing
Visibility- This can be changed at anytime
Protected- This can be changed at anytime
Click on Update Image to apply any changes made to the image.
Deleting an Image
Find the image you would like to delete and then click the down arrow at the end of the image row and select Delete Image
A Confirm Delete Image dialog will appear explaining what image you have selected to delete.
Warning
Deleting images is a non-recoverable exercise proceed with caution
If you are happy to proceed then click Delete Image
The image will then be deleted from the project and underlying storage.