Resizing an Instance
Log into the NeSI FlexiHPC Dashboard
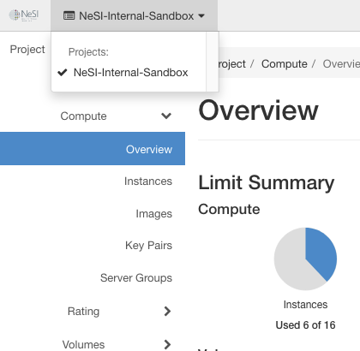
Select the project you would like to deploy the new instance too (Use the project selector on the top left-hand side):
Open the Project tab, open the Compute tab and select Instances then select the compute instance you want to resize.
Under the Actions menu on the far right, select Resize Instance

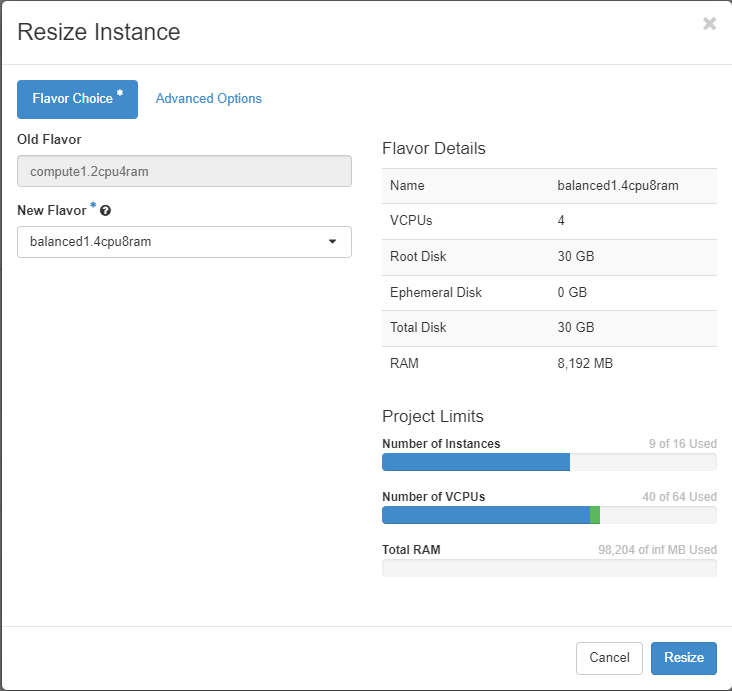
Within the Resize Instance dialog, under the Flavor Choice tab you have the following options
Old Flavor- This is the flavor your compute instance is currently
New Flavor- This is the flavor you would like to resize your compute instance too.
Under the Advanced Options tab
Disk Partition- The Default is Automatic if you don't want the disk to resize upon resize then select Manual.
Note
The disk will resize if you booted from image and the image is bigger or smaller then the current one you are running. By default flavors have a disk size of 30 GB and that will generally stay at the same size
Click Resize
After a few moments you will be asked to confirm the Resize

Under the Actions menu click Confirm Resize/Migrate to confirm and complete the resize.
Note
A resize will result in the compute instance being shutdown and rebooted in the new flavor