Launch an Instance
Log into the NeSI FlexiHPC Dashboard
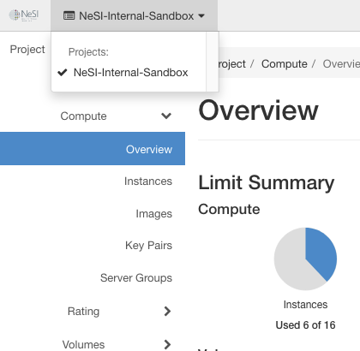
Select the project you would like to deploy the new instance too (Use the project selector on the top left-hand side):
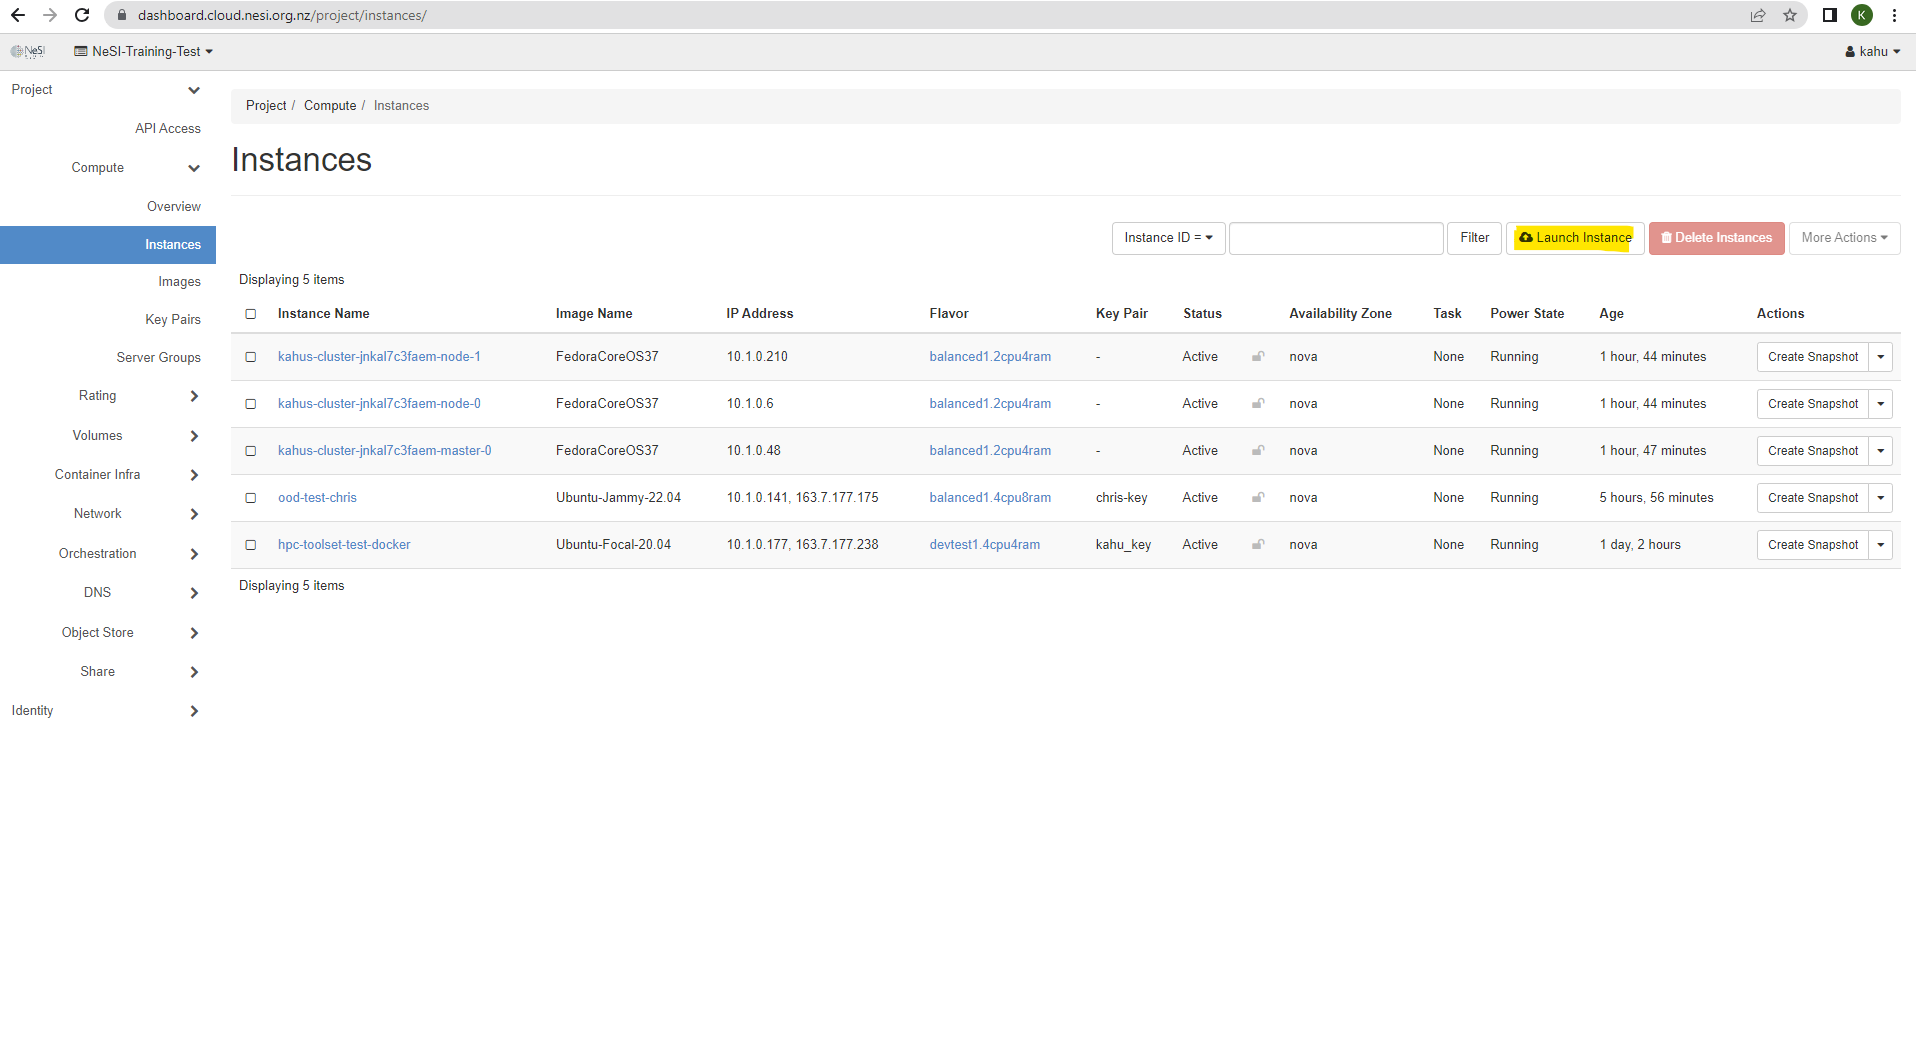
Open the Project tab, open the Compute tab and select Instances
Click Launch Instance
Within the Launch Instance dialog box there are the following values:
Details
Project Name- The name of the project that this instance will be deployed under.
Instance Name- The name of the VM/Instance. The name you assign here becomes the initial host name of the server.
Note
After the server is built, if you change the server name in the API or change the host name directly, the names are not updated in the dashboard.
Server names are not guaranteed to be unique when created so you could have two instances with the same host name.
Description- A brief description of the VM/Instance.
Availability Zone- By default this will be “nova“. This specifies which zone it will be deployed too if there were multiple zones. The current default and only zone is “nova“ at this point in time.
Count- how many of the VMs/Instances you would like to deploy.
Source-
Select Boot Source
Boot from image- Selecting this option allows you to choose from a list of images to boot from, a list of images will be presented to choose from.
Boot from instance snapshot- Selecting this option allows you to choose an instance snapshot to boot from, a list of instance snapshots will be presented to choose from.
Boot from volume- Selecting this option allows you to choose a volume to boot from, a list of volumes will be presented to choose from.
Boot from volume snapshot- Selecting this option allows you to choose a volume snapshot to boot from, a list of volume snapshots will be presented to choose from.
Delete Volume on Instance Delete- Selecting YES will enable the volume to be deleted when the instance is deleted.
Volume Size (GB)- This will be present should the user choose to boot from image or instance snapshot. This setting determines the size of the boot volume. This will be overridden when selecting a flavor if its less then the flavor's size.
Flavor
Flavor- Specify the size of the instance to launch, click the
^to select the instance size you are after.
Note
Instance sizes have a brief explanation in the name of what they are best used for.
Example compute1.1cpu2ram is best for Compute heavy workloads with 1 vCPU and 2 GB of RAM or memory1.1cpu4ram is best for Memory heavy workloads with 1 vCPU and 4 GB of RAM
Networks
Selected Networks- To add a network to the instance, click the
^in the Available field.
Note
If you haven't configured a network prior to the creation of a compute instance then the recommend network should be the one that has the same name as the project you are in. Example, I am in the NeSI-SandBox-Environment so I will pick the NeSI-SandBox-Environment network.
You shouldn't need to add the instance to an external network as a floating IP will be added later on should you need to access the instance from outside the FlexiHPC network.
Network Ports
This for now can be ignored as we will use Security Groups to assign port connections for the instance.
Security Groups
Activate the security groups that you want to assign to the instance.
Security groups are a kind of cloud firewall that define which incoming network traffic is forwarded to instances.
If you have not created any security groups, you can assign only the default security group to the instance.
Note
By default the default security group is added to all instances. This is required should the instance want to communicate to the outside world or to any other instance within the FlexiHPC project.
How to create Security Groups are explained here How to add/update and remove security groups
Key Pair
Specify a key pair that is associated with your FlexiHPC user login. If there is none available then you can create one by clicking Create key Pair
If the image uses a static root password or a static key set (neither is recommended), you do not need to provide a key pair to launch the instance.
Info
The following Creating and Importing Key Pairs will also explain on how to import and create key pairs
Configuration
Customization Script Source- Specify a customization script that runs after your instance launches. This can either be applied by uploading a file from your local machine or entered manually within the textbox provided.
Server Groups
Server groups determine the Policy that FlexiHPC should apply during the deployment of the instance in regards to other servers within the same group.
Info
By default an instance doesn't need to be in a Server Group, however should you want to apply policies to your servers then please read Server Groups within FlexiHPC to create a Server Group and also understand each policy.
Server Group should be created prior to the creation of the instance if so required.
Scheduler Hints
These are tags or labels that tell the underlying FlexiHPC on where to deploy an instance. An example would be, If your workload or instance requires an intel based processor then you would apply the corresponding Scheduler Hint to the instance so it is only deployed to intel based processors.
Metadata
Available Metadata- Add Metadata items to your instance.
Click Launch Instance.
The instance starts on a compute node in the cloud.
Info
If you require an external connection to this instance then a floating IP is required. The article
Manage Floating IPs via the Dashboard will detail the requirements to complete this.
You should now be able to connect to your instance using ssh which is explained more in Connect to your instance by using SSH.